

By Dr. SamiUllah, PhD, Lead Formulator, Formula Chemistry
Quick Answer: Soap making for beginners is easiest with a melt and pour base, a pre-saponified glycerin soap block that requires no sodium hydroxide handling at all.
You simply melt the base at 120°F to 130°F, add fragrance and color, pour it into a mold, and it is ready to use within 24 hours rather than the four to six week cure a cold process bar needs.
Introduction
Most people who want to try soap making stop before they start, because sodium hydroxide sounds intimidating. Melt and pour soap removes that barrier entirely, since the saponification reaction already happened when the base was manufactured.
This guide walks through the easiest realistic entry point into soap making, using a pre-made base rather than raw lye and oils.
Once you are comfortable with melting, coloring, and molding, our cold process guide is the natural next step for building soap from raw ingredients yourself.
Nothing here requires prior chemistry knowledge or specialized equipment beyond what most kitchens already have. That accessibility is exactly why melt and pour remains the most common recommendation for a genuine first project.
What Makes Melt and Pour Different From Cold Process
Cold process soap starts as raw oils and lye that react together over hours and weeks. Melt and pour soap starts as a finished, already-saponified block, so the chemistry work is already done before it reaches you.
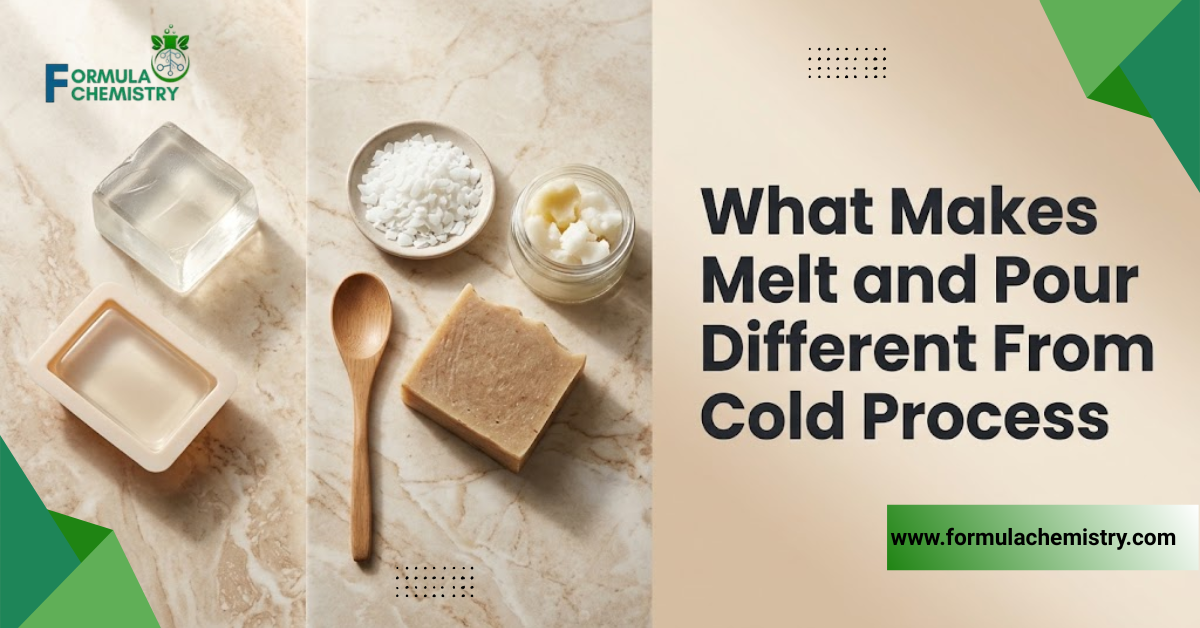
That single difference changes almost everything about the beginner experience. There is no caustic solution to mix, no trace to judge, and no multi-week cure standing between you and a finished bar.
The tradeoff is creative control. A melt and pour base has a fixed INCI composition, typically built around sodium stearate, glycerin, and a surfactant blend, so you are customizing an existing formula rather than designing one from scratch the way our guide on how to make soap from scratch covers.
Choosing a Melt and Pour Base
Melt and pour bases come in several formulations, each suited to a slightly different look and skin feel. Picking the right one before you start prevents disappointment with the finished bar.
| Base Type | Appearance | Best For |
| Clear Glycerin | Transparent | Embeds, layered designs, vivid colors |
| White Opaque | Solid white | Simple bars, easy color blending |
| Goat Milk | Creamy off-white | Gentle, moisturizing feel |
| Shea Butter | Ivory, slightly textured | Extra conditioning, richer feel |
| Honey | Amber, translucent | Warm tones, natural scent pairing |
Buy a small block first rather than a large one, since bases vary slightly in scent and melt behavior between brands. A one or two pound test block is enough to complete two or three practice batches before committing to a larger purchase.
Reading a Melt and Pour Base Label
A quality melt and pour base lists its full INCI name on the packaging, typically led by sodium stearate or sodium cocoate along with glycerin and water. Bases marketed as “detergent-free” or “triple-milled” tend to produce a slightly firmer, longer-lasting bar than a basic glycerin block.
Some bases include added conditioning ingredients like shea butter or aloe directly in the formula, which reduces how much you need to customize afterward.
Reading the base’s ingredient list before buying helps you avoid accidentally duplicating an ingredient you plan to add yourself, such as a base that already contains fragrance.
Checking for a base specifically labeled safe for skin contact, rather than a decorative or craft-only glycerin product, is worth the extra minute of label reading.
Craft-grade glycerin blocks sold for non-cosmetic projects are not always formulated or tested to the same standard as a proper melt and pour soap base.
| Ingredient | Function | Weight % | Amount (g) |
|---|
All amounts are by weight. Wear splash goggles, alkali-resistant gloves, and protective clothing. Add sodium hydroxide to water, never water to sodium hydroxide. Do not use the illustrative lye amount for production; calculate the exact NaOH weight for the selected oils and superfat before making soap. Keep lye and raw soap away from children and pets. Cure bars for 4-6 weeks.
Troubleshooting Common Melt and Pour Problems
The Base Won’t Melt Smoothly
Uneven melting usually means the cubes were cut too large or the heat was too aggressive in one spot. Smaller, uniform cubes and shorter microwave bursts with stirring between each one solve this in almost every case.
Bubbles Keep Appearing on the Surface
Persistent surface bubbles after an alcohol spray often mean the base was poured from too high above the mold, whipping air into the liquid. Pouring slowly and close to the mold’s surface reduces the air introduced during the pour itself.
The Finished Bar Feels Sticky
A sticky surface typically points to storage in a humid environment rather than a flaw in the batch itself. Wrapping finished bars in plastic wrap once fully cooled protects them from ambient moisture.
Colors Look Muddy Instead of Vibrant
Muddy color usually comes from adding a colorant to base that is too hot, which can cause pigment particles to clump or discolor.
Waiting until the base has cooled slightly toward the lower end of the working temperature range keeps colors truer, and adding colorant in small increments rather than all at once gives you more control over the final shade.
Tools You Actually Need
Melt and pour requires far less equipment than cold process, which is part of what makes it approachable for a first project.
A microwave-safe container or a double boiler handles melting, and a basic kitchen scale is helpful but not strictly essential the way it is for lye-based recipes.
You will also want a silicone mold, isopropyl alcohol in a small spray bottle to eliminate surface bubbles, and a thermometer to avoid overheating the base. Fragrance oil, liquid or mica colorant made for soap, and a mixing spoon round out the basic kit.
Since there is no caustic chemical involved, gloves and goggles are optional rather than mandatory, though a heat-safe surface for hot melted base is still worth having. Our full soap making ingredients checklist covers the broader supply list if you plan to expand into cold process later.
Step by Step: Making Your First Batch
Step 1: Cut and Weigh Your Base
Cut the melt and pour block into roughly one-inch cubes, which melt more evenly than large chunks. Weigh out the amount your mold requires, adding a small buffer of extra base for any spillage during pouring.
Step 2: Melt the Base Gently
Melt the cubes in a microwave in 20 to 30 second bursts, stirring between each, or in a double boiler over low heat. Stop as soon as the base is fully liquid, since prolonged heat can degrade fragrance and dry out the finished bar.
Step 3: Check the Temperature
Aim for a working temperature between 120°F and 130°F before adding anything else. Adding fragrance or color to base that is too hot can cause the fragrance to evaporate or the color to behave unpredictably.
Step 4: Add Fragrance and Color
Stir in fragrance oil at roughly one teaspoon per pound of base, adjusting based on the specific fragrance’s recommended usage rate. Add colorant gradually, since it is far easier to deepen a shade than to lighten one that has gone too dark.
Step 5: Spray With Alcohol and Pour
Pour the mixture into your mold, then immediately spray the surface lightly with isopropyl alcohol to pop any surface bubbles. Spray again after a minute or two if new bubbles rise to the top, since a base that is still fully liquid will keep releasing trapped air briefly after pouring.
Step 6: Let It Set
Allow the soap to cool at room temperature for one to two hours, or speed the process slightly in a refrigerator. The bar is ready to unmold once it feels fully firm and releases cleanly from the mold’s edges.
Step 7: Unmold and Use
Gently flex silicone molds to release the bar rather than pulling directly on the soap itself. Unlike cold process, a melt and pour bar is ready to use immediately, with no multi-week cure required.
Customizing Your First Batch
Layering is one of the simplest techniques for a beginner, achieved by pouring one color, letting it firm slightly, then pouring a second color on top. Spritzing each layer with alcohol before adding the next helps the layers bond rather than separate.
Embeds, small pre-made soap shapes suspended in a clear base, add visual interest without requiring any additional skill beyond careful placement.
Botanical additives like dried flower petals or oatmeal can be stirred in at pour time, though heavier additives may sink unless the base has thickened slightly first.
Swirling two colors together with a skewer, rather than fully mixing them, creates a marbled effect that looks advanced but takes no extra equipment.
Working quickly is the main skill involved, since the melt and pour base begins to firm up within a few minutes of hitting the working temperature range.
Storing and Gifting Finished Bars
Cured or not, melt and pour soap should be wrapped once fully cooled to protect it from humidity and dust. Plastic wrap, cellophane bags, or shrink wrap all work, and shrink wrap in particular gives a polished, retail-ready appearance for gifting.
Store finished bars in a cool, dry location away from direct sunlight, since prolonged light exposure can fade both color and fragrance over time.
Properly wrapped melt and pour soap typically stays in good condition for six months to a year, though fragrance intensity gradually softens the longer it sits unused.
If you are making bars specifically as gifts, batching several small molds rather than one large block gives you more finished units to wrap and distribute from a single melt. Labeling each bar with its scent and date made is a small habit that becomes useful once you are producing more than a few batches.
When You’re Ready to Move Beyond Melt and Pour
Melt and pour is an excellent entry point, but it has a ceiling on customization since the base formula is fixed. Once you want to control the exact oil blend, hardness, and lather profile of a bar, cold process is the method that gives you that control, and our cold process versus hot process comparison is a good next read to decide which cold process path suits you.
If your interest extends toward liquid cleansers rather than bar soap, gentle surfactants like coco glucoside open a different formulation path entirely, and our guide to formulating a body wash walks through that process.
Common Mistakes With Melt and Pour Soap
Overheating the base repeatedly. Melting and remelting the same base multiple times dries it out and can make the finished bar brittle or prone to sweating.
Skipping the alcohol spray. Surface bubbles that are not popped before the base sets leave a pitted, unprofessional-looking finish on an otherwise simple technique.
Adding fragrance while the base is too hot. Pouring fragrance into base above 140°F risks evaporating some of the scent before it ever reaches the mold.
Using dyes not formulated for soap. Food coloring and candle dye can behave unpredictably in a glycerin base, sometimes fading or migrating unevenly through the bar.
Pouring into a mold that is not heat-safe. Standard plastic molds not rated for hot liquids can warp or leach into the base, while silicone molds are built to handle the temperature safely.
Rushing the unmolding step. Removing a bar before it has fully firmed causes it to deform or stick, undoing an otherwise clean pour.
Who Melt and Pour Soap Making Suits
Melt and pour is well suited to anyone intimidated by lye handling, families introducing children to soap making under supervision, and gift makers who need finished bars quickly rather than after a multi-week cure.
It also suits anyone testing fragrance and color combinations before committing to a full cold process batch of the same recipe.
It is less suited to formulators who want full control over the fatty acid profile or who are trying to avoid glycerin sweating in humid climates, since melt and pour bases are inherently glycerin-rich.
Those with sensitivities to specific surfactants in a chosen base should review the full INCI listing before their first batch, the same way they would check any other skincare product label. Always conduct a 48-hour patch test with any new formula before wider use.
Frequently Asked Questions
Is melt and pour soap real soap?
Yes, melt and pour soap is fully saponified soap, just pre-made into a base before you receive it. The chemistry is identical to cold process soap, only completed earlier in the manufacturing process by the base supplier.
Do I need safety gear for melt and pour soap?
No caustic chemicals are involved, so gloves and goggles are optional rather than required. A heat-safe surface for the melted base is still recommended.
How long does melt and pour soap need to set?
Most bars are firm enough to unmold within one to two hours at room temperature. Unlike the cold process, no multi-week cure is needed before use.
Why does my melt and pour soap sweat?
Sweating happens when glycerin in the base draws moisture from humid air, and it is a normal property of glycerin soap rather than a mistake.
Storing finished bars in a cooler, drier location reduces the effect, and some formulators find that switching to a lower-glycerin or detergent-free base minimizes sweating further in especially humid climates.
Can I melt and pour soap without a microwave?
Yes, a double boiler over low heat melts the base just as effectively. It takes slightly longer but gives you more control over temperature, which some beginners find easier to manage than a microwave’s short, intense bursts.
What fragrance load should I use to melt and pour soap?
Most fragrance oils are used around one teaspoon per pound of base, though the exact rate depends on the specific fragrance oil’s recommendation. Always check the supplier’s usage guidance before adding it.
Can kids help melt and pour soap?
Yes, with adult supervision around the melting step, since the base is hot enough to cause burns even though no lye is present. Pouring, coloring, and unmolding are all appropriate for kids to help with directly.
Is melt and pour soap as good as cold process soap?
Both produce real, functional soap, though the cold process gives more control over the exact oil blend and skin feel. Melt and pour trades some of that control for speed and accessibility, which makes it a reasonable choice depending on your goals.
Your First Bar Is Closer Than You Think
Melt and pour soap making removes the two biggest barriers beginners face, lye handling and a long wait before the bar is usable. A single afternoon is genuinely enough time to melt, color, pour, and unmold a finished bar of soap.
Once you have a few melt and pour batches behind you and want more control over the recipe itself, cold process is the natural next step to explore. The skills you build here, working with temperature, fragrance load, and color, carry over directly once you make that move.