

By Dr. SamiUllah, PhD, Lead Formulator, Formula Chemistry
Quick Answer: Learning how to make homemade soap starts with saponification, the chemical reaction between a fat or oil and sodium hydroxide (NaOH) that converts triglycerides into soap and glycerin.
A standard beginner cold process batch uses a 5 percent superfat, meaning 5 percent of the oils remain unreacted to boost mildness, and bars typically cure for four to six weeks before use.
Precise lye and water amounts always come from a lye calculator, never a fixed ratio, because every oil blend has a different saponification value.
Introduction
Most people who want to learn how to make homemade soap assume the hard part is the recipe. It is not. The hard part is respecting sodium hydroxide as the industrial chemical it actually is, then trusting the process long enough to let a bar cure properly.
I have watched more beginner batches fail from impatience than from bad formulation. A rushed cure, an eyeballed lye amount, or a fragrance oil added at the wrong temperature will ruin an otherwise sound recipe.
This guide walks through the chemistry, the ingredients, the method, and the mistakes that actually matter, so your first batch behaves the way it should.
By the end, you will understand why soap making is a precise chemical process rather than a craft project, and you will have a working beginner recipe you can measure out with confidence.
What Happens When You Make Soap: The Chemistry of Saponification
Saponification is a hydrolysis reaction. Fats and oils are triglycerides, meaning three fatty acid chains bound to a glycerol backbone, and sodium hydroxide splits that bond.
The fatty acids combine with sodium ions to form soap molecules, while the glycerol backbone is released as free glycerin. This is why traditional bar soap always contains glycerin, unless it has been deliberately removed during processing.
Every oil has a saponification value (SAP value), which tells you how many milligrams of NaOH are needed to fully saponify one gram of that oil. Olive oil has a SAP value around 0.134, coconut oil sits near 0.183, and these differences are exactly why soap makers cannot use one universal lye ratio across recipes.
This is also why a proper lye calculator is not optional. Plugging your specific oil blend and weights into a calculator, rather than reusing someone else’s numbers, is the only reliable way to confirm your NaOH and water amounts before you touch a single ingredient.
| Ingredient | Function | Weight % | Amount (g) |
|---|
All amounts are by weight. Weigh every ingredient on a scale accurate to 0.01 g. Wear chemical-resistant gloves, splash goggles and protective clothing. Add sodium hydroxide to water, never water to sodium hydroxide. Use only a lye calculator verified for your actual oils and NaOH purity before making soap. Cure bars for 4-6 weeks before use.
Soap Making Ingredients You Actually Need
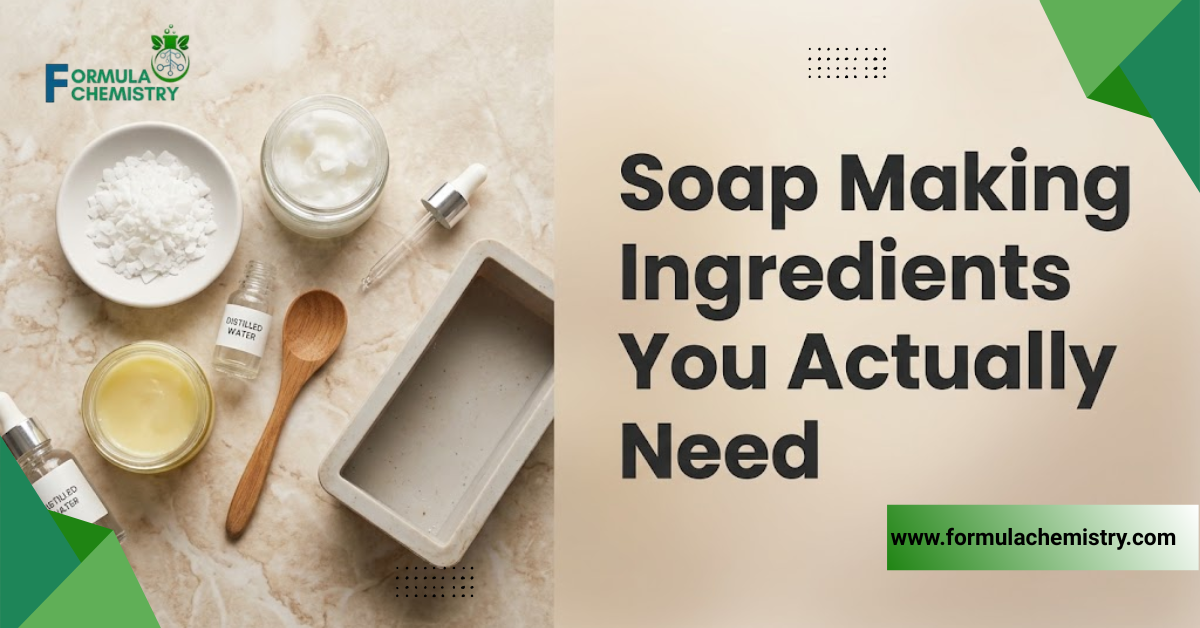
A finished bar of soap depends on four categories of raw material working together correctly. Skipping precision in any one of them changes the hardness, lather, and skin feel of the final bar.
Fats and Oils
Oils supply the fatty acid profile that determines hardness, lather, and conditioning feel. Coconut oil brings hard, bubbly lather, olive oil brings mildness and a dense creamy lather, and castor oil boosts lather stability in small amounts.
Most balanced recipes blend three to five oils rather than relying on a single one. A deeper walkthrough of oil selection and function lives in our guide to soap making ingredients, which is worth reading before you finalize a recipe.
Sodium Hydroxide (Lye)
Sodium hydroxide is the alkali that drives saponification in bar soap. It must be measured on a gram scale, never estimated by volume, because even a small excess produces a bar that is harsh or caustic on skin.
Food-grade or 99 percent pure NaOH beads are the standard for soap making. Anything less pure introduces unknown impurities into the reaction.
Water or Liquid
Water dissolves the lye and allows it to disperse evenly through the oils during mixing. Many experienced formulators use a water discount, reducing the standard water amount by 10 to 20 percent, to speed up trace and shorten cure time.
Distilled water is preferred over tap water because it removes mineral variability that can affect trace speed and bar clarity.
Some formulators substitute part or all of the water with goat milk, coconut milk, or a botanical tea, though any liquid other than plain water requires extra care during lye mixing to avoid scorching sugars in the liquid.
Additives
Additives are optional but they are where a recipe becomes distinctive. Common choices include colorants, botanical exfoliants, clays, and fragrance or essential oils added at trace.
If your longer-term goal is a liquid cleanser rather than a bar, the ingredient logic shifts toward surfactant systems, and our guide to formulating a body wash covers that path in detail.
Colorants and Botanical Additives
Natural colorants like clays, activated charcoal, and botanical powders are the most beginner-friendly options because they behave predictably at low usage rates.
Micas designed specifically for cold process soap hold color through the pH swing of saponification, while cosmetic pigments meant for other product types can shift or fade unpredictably.
Botanical additives like ground oats or poppy seeds add texture and visual interest without contributing to lather or cleansing. These should always be added at trace rather than melted into the oil phase, since prolonged heat can degrade their appearance and function.
Essential Soap Making Equipment
Soap making does not require a professional lab, but it does require dedicated equipment that never crosses over into food preparation again. Sodium hydroxide residue can remain on plastics and wood at levels too small to see, so keeping soap tools separate protects your kitchen gear.
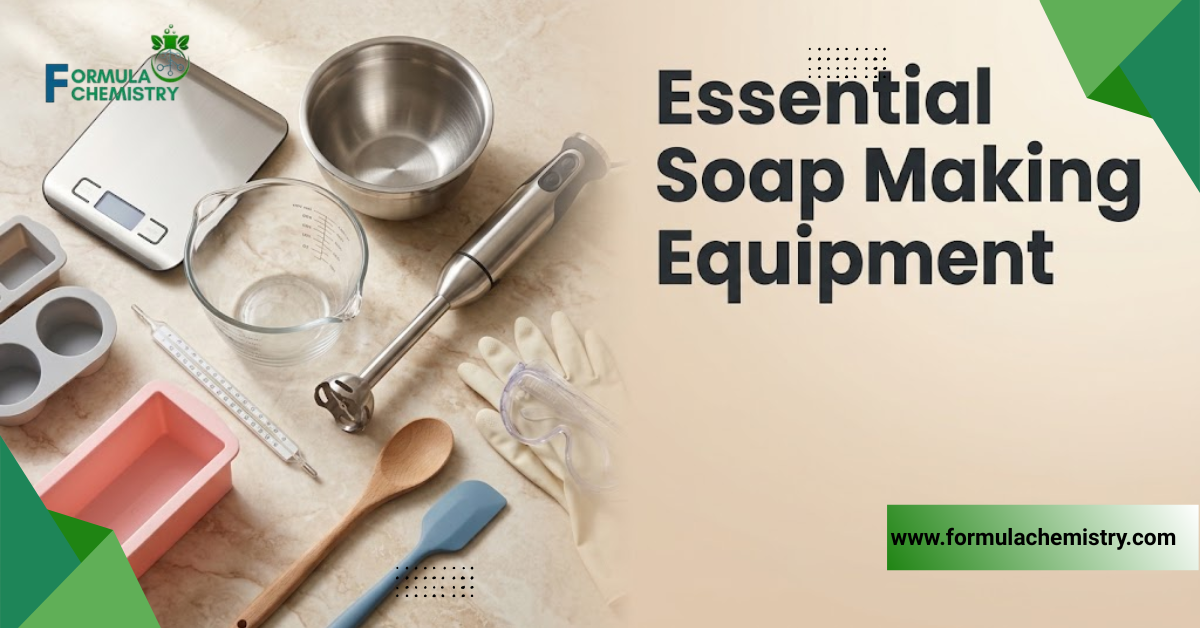
A digital scale accurate to one gram is the single most important tool in the process. Volume measurements like cups and tablespoons are unreliable for lye work, since density varies between oils and even between batches of the same oil.
You will also need two heat-safe containers, one for mixing the lye solution and one for combining oils, along with a stick blender to bring the batter to trace efficiently.
A basic infrared thermometer lets you confirm both the lye solution and the oil phase have reached a compatible working temperature before you combine them.
Finally, a silicone-lined or dedicated soap mold, a bar cutter or sharp knife, and a curing rack with airflow round out the essentials. None of this equipment is expensive, and most of it can be reused indefinitely once set aside exclusively for soap making.
Soap Making Methods: Cold Process vs Hot Process
Beginners typically choose between two production methods, and the choice affects both technique and timeline.
The cold process relies entirely on the heat generated by the saponification reaction itself. No external heat is added after mixing, and the soap finishes saponifying gradually over the following 24 to 48 hours inside the mold.
Hot process applies external heat, usually through a slow cooker, to accelerate saponification during the cook itself. The soap is often usable within days rather than weeks, though the texture is rustic rather than smooth.
The cold process is the better starting point for most beginners because it teaches trace, temperature control, and mold behavior without the added complexity of managing a cook.
Our full breakdown of cold process versus hot process compares texture, timeline, and difficulty in more depth if you want to weigh both paths before committing.
A Basic Beginner Soap Recipe
The recipe below is a balanced five-oil cold process formula designed for mildness, moderate hardness, and stable lather. It uses a 5 percent superfat.
| Oil / Fat | INCI Name | Percentage of Oil Weight | Function |
| Olive Oil | Olea Europaea (Olive) Fruit Oil | 40% | Mildness, conditioning, dense creamy lather |
| Coconut Oil | Cocos Nucifera (Coconut) Oil | 25% | Cleansing, hard bar, bubbly lather |
| Sunflower Oil | Helianthus Annuus (Sunflower) Seed Oil | 25% | Conditioning, moisturizing feel |
| Shea Butter | Butyrospermum Parkii (Shea) Butter | 5% | Bar hardness, skin conditioning |
| Castor Oil | Ricinus Communis (Castor) Seed Oil | 5% | Lather boost and stability |
Total oil weight: 100.00%. For a 1,000 gram batch of total oils, run this exact blend through a lye calculator at a 5 percent superfat, and expect a result of approximately 138 to 142 grams of sodium hydroxide with roughly 240 to 260 grams of water, depending on your chosen water discount.
Batch-size note: To scale this recipe, keep every oil’s percentage identical and simply multiply by your target total oil weight.
A 500 gram batch uses 200 grams olive oil, 125 grams coconut oil, 125 grams sunflower oil, 25 grams shea butter, and 25 grams castor oil, then a freshly recalculated lye and water figure for that new total.
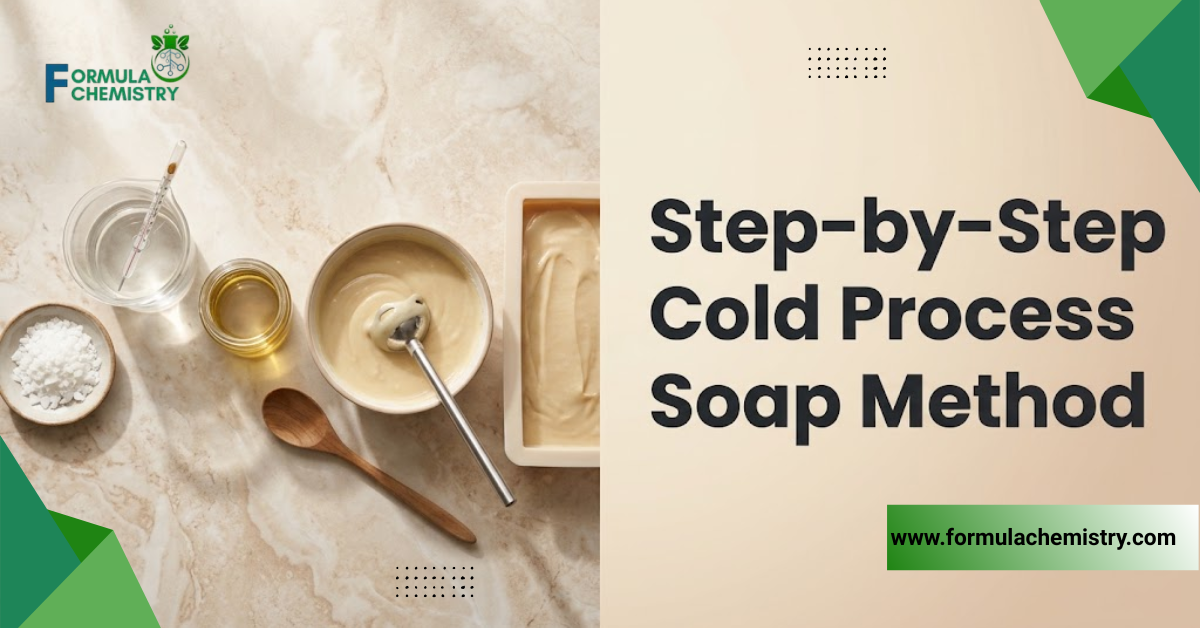
Step-by-Step Cold Process Soap Method
Step 1: Prepare Your Safety Gear and Workspace
Put on gloves and eye protection before measuring anything. Sodium hydroxide reacts violently with water and produces caustic fumes in the first seconds of mixing, so this step is never optional.
Step 2: Measure Oils and Lye Separately
Weigh your solid oils and melt them gently, then weigh your liquid oils and combine them into the melted solids. In a separate, well-ventilated area, weigh your water and your sodium hydroxide.
Step 3: Mix the Lye Solution
Always add lye to water, never water to lye, to avoid a volcanic reaction. Stir until fully dissolved and set the solution aside to cool.
Step 4: Bring Oils and Lye to Working Temperature
Most cold process recipes trace well when both the oil phase and the lye solution sit between 100°F and 110°F (38°C to 43°C). A close temperature match between the two reduces the risk of separation or false trace.
Step 5: Combine and Blend to Trace
Pour the lye solution into the oils and blend with a stick blender in short pulses. Trace is reached when the mixture thickens enough that a drizzle on the surface holds its shape briefly before sinking back in.
Step 6: Add Fragrance, Color, and Additives
Stir in fragrance oil, colorant, or botanical additives once you reach a light to medium trace. Working quickly here matters, since some fragrance blends accelerate trace dramatically.
Step 7: Pour Into the Mold
Pour the batter into your prepared mold and tap it firmly on the counter to release trapped air bubbles. Cover loosely to retain heat during the gel phase.
Step 8: Unmold and Cut
Most cold process soap can be unmolded after 24 to 48 hours, once it feels firm to the touch. Cut it into bars promptly, since waiting too long makes a fully hardened block difficult to slice cleanly.
Step 9: Cure for Four to Six Weeks
Lay the bars on a rack with airflow on all sides and let them cure for a minimum of four weeks. Curing allows residual water to evaporate, which produces a harder, longer-lasting, and milder bar.
Understanding Trace in Practice
Trace describes the point where the oils and lye solution have emulsified enough that the mixture holds a visible shape rather than separating back into liquid. Beginners often either stop blending too early, before true emulsion has formed, or blend far past traces into a batter too thick to pour cleanly.
Light trace looks like thin custard and is the correct stage for pouring plain, unscented soap or soap intended for intricate swirl designs. Medium trace resembles cake batter and is the ideal stage for adding fragrance oils that accelerate quickly.
Full trace looks closer to pudding and holds sharp peaks when the blender is lifted. Waiting for a full trace before pouring risks the batter setting inside the pitcher before it ever reaches the mold, so most beginner recipes are poured at light to medium trace.
Troubleshooting Common Soap Making Problems
The Batter Seizes Before Pouring
Seizing happens when a fragrance oil or an aggressive water discount causes the batter to solidify almost instantly during blending.
The fix is switching to a fragrance oil tested as soap-safe with a known acceleration rate, and easing off an aggressive water discount until you have more batches of experience behind you.
The Soap Develops Cracks on Top
Surface cracking usually points to the batter overheating during gel phase, particularly in insulated molds with high sugar or fragrance content. Reducing insulation, or moving the mold to a cooler spot during the first hours after pouring, controls the internal temperature spike.
The Bar Feels Greasy After Curing
A greasy surface after a full cure typically signals a superfat percentage that ran too high for that particular oil blend, or an inaccurate lye calculation. Rerunning the exact recipe through a calculator and confirming the NaOH weight against your kitchen scale resolves this in almost every case.
Colors Fade or Shift During Cure
Natural colorants, particularly some clays and botanicals, can shift shade as pH stabilizes over the curing weeks. This is expected chemistry rather than a formulation failure, and synthetic cosmetic colorants formulated for cold process soap tend to hold their shade more predictably if consistent color is a priority.
Formulation Considerations for Beginner Soap Makers
Superfat Percentage
Superfat is the percentage of oil intentionally left unsaponified to keep the bar conditioning rather than stripping. Most beginner recipes use 5 percent, though sensitive-skin formulas sometimes push to 7 or 8 percent for extra mildness.
Water Discount
Reducing water content shortens the time a bar needs to fully harden in the mold and can shorten overall cure time slightly. Beginners should stay conservative with water discounts, since too aggressive a discount can cause the batter to seize before it reaches the mold.
Fragrance and Essential Oil Load
Fragrance and essential oils are typically used between 3 and 5 percent of total oil weight in cold process soap. Some essential oils, particularly clove, cinnamon, and citrus, accelerate trace or cause discoloration, so checking a usage chart before adding one is worthwhile.
pH of Finished Bar Soap
A well-cured cold process bar typically settles between pH 9 and pH 10, which is naturally higher than skin’s own slightly acidic surface. This is normal for true soap rather than a flaw, since the alkalinity comes from the saponification chemistry itself rather than from an error in the recipe.
Surfactant Alternatives for Liquid Formats
If you eventually want a rinse-off product with a gentler surfactant system rather than a saponified bar, mild cleansers like coco glucoside are a common starting point for clean beauty liquid formulas.
That is a separate formulation path from bar soap, but it is a natural next step for soap makers exploring liquid products.
Storage and Shelf Life of Homemade Soap
Properly cured cold process soap has a practical shelf life of twelve to eighteen months when stored in a cool, dry location with airflow. Humidity is the main enemy of stored soap, since bars left in a sealed container will sweat glycerin and soften over time.
Fragrance and essential oils can fade gradually over long storage periods, particularly citrus notes, which oxidize faster than floral or woody notes. Wrapping finished bars loosely in wax paper protects them from dust while still allowing enough airflow to prevent moisture buildup.
Common Mistakes Beginners Make When Making Soap
Eyeballing the lye amount. Beginners sometimes reuse a lye figure from memory instead of recalculating for their exact oil blend. The fix is running every new oil combination through a lye calculator before mixing anything.
Skipping safety gear. Bare hands near a lye solution risk chemical burns within seconds. Gloves and eye protection should go on before the lye container is even opened.
Adding water to lye instead of lye to water. This order matters because reversing it can cause a violent, near-instant eruption of hot caustic liquid. Lye always goes into water, never the reverse.
Unmolding too early. Soap that is cut before it has firmed sufficiently will deform, stick to the mold, or crumble at the edges. Waiting the full 24 to 48 hours before unmolding protects the bar’s shape.
Cutting the cure time short. A bar used after one week is softer, more alkaline on the surface, and dissolves faster in the shower than a properly cured bar. Four to six weeks of curing is not a suggestion, it is the difference between an amateur bar and a finished product.
Using tap water without accounting for mineral content. High-mineral tap water can slow trace or produce a duller bar color. Distilled water removes that variable entirely.
Overloading fragrance oil. Adding fragrance above the recommended usage rate can cause skin irritation, accelerate trace unpredictably, or cause the bar to sweat oil over time. Staying within the 3 to 5 percent range keeps the formula stable.
Ignoring the gel phase entirely. Some beginners assume gel phase is optional and either force it aggressively or try to prevent it without understanding the tradeoff. Gel phase deepens color and can shorten cure slightly, while a gel-free bar stays lighter in shade, and either choice is valid as long as it is made deliberately.
Weighing ingredients in the wrong order. Measuring lye directly into a container that already has water splashed in from a prior step introduces guesswork into the reaction. Every ingredient should be tared and weighed individually, with the scale zeroed between each one.
Soap Making Suitability Guide
Cold process bar soap made with a moderate superfat generally suits normal, oily, and combination skin well. The cleansing action and lather profile can feel too stripping for very dry or eczema-prone skin unless the superfat is increased and cleansing oils like coconut are reduced.
Beginners with no prior chemistry or lab handling experience can still make cold process soap safely, provided every safety step is followed without shortcuts.
Those with any history of skin sensitivity to sodium hydroxide residues, which is rare in a properly cured bar, should patch test before regular use.
Anyone with active eczema, broken skin, or a diagnosed sensitivity to specific fragrance or essential oil components should formulate with a lower cleansing oil fraction and a higher superfat before introducing the bar into daily use.
Formulators working with children’s products should reduce or eliminate essential oils entirely and rely on mild fragrance-free formulas instead. Always conduct a 48-hour patch test with any new formula before wider use.
Frequently Asked Questions
Is homemade soap safe to use on skin?
Yes, once fully saponified and cured, homemade soap contains no free sodium hydroxide and is safe for regular use. The curing period is what allows any residual alkalinity to stabilize.
How long does homemade soap need to cure?
Most cold process bars need four to six weeks of curing on a ventilated rack. Curing hardens the bar and allows excess water to evaporate for a longer-lasting product.
Can I use tap water instead of distilled water?
Tap water can be used, but its mineral content sometimes slows trace or affects bar clarity. Distilled water is the more predictable choice for consistent results.
Why did my soap batter separate after pouring?
Separation usually happens when the oil and lye solution temperatures were too far apart during mixing. Keeping both within a close range before combining prevents this.
Do I need special equipment to start soap making?
You need a digital scale, a stick blender, heat-safe containers, gloves, eye protection, and a soap mold. None of this requires professional lab equipment for a beginner batch.
What causes white ash on the surface of soap?
Soda ash forms when unsaponified lye reacts with carbon dioxide in the air during the early curing stage. It is cosmetic only and does not affect the bar’s safety or performance.
Can I substitute oils in a soap recipe freely?
Oils can be substituted, but every substitution changes the total SAP value and requires recalculating lye and water. Never swap oils without rerunning the recipe through a calculator.
Is cold process or hot process better for beginners?
The cold process is generally easier for beginners because it does not require managing an active cook. The hot process finishes faster but demands closer attention to temperature and texture during the bake.
Key Takeaways
Homemade soap is a precise chemical process built on saponification, not a loose craft recipe. Accurate lye calculations, careful temperature matching, and a full four to six week cure are what separate a mild, long-lasting bar from a harsh or unstable one.
Start with a simple, well-balanced oil blend like the one outlined here before experimenting with additives or fragrance combinations. If you want structured, guided instruction beyond a single recipe, our list of cosmetic formulation courses and our dedicated guide for beginner soap makers are both strong next steps.
Weigh your ingredients precisely, respect the cure time, and your first batch will perform the way a properly formulated bar should.
One thought on “How to Make Homemade Soap: Complete Beginner’s Guide”